License Number CCC1337583
Should I Use 1/2 Or 3/4 Plywood For Roofing?
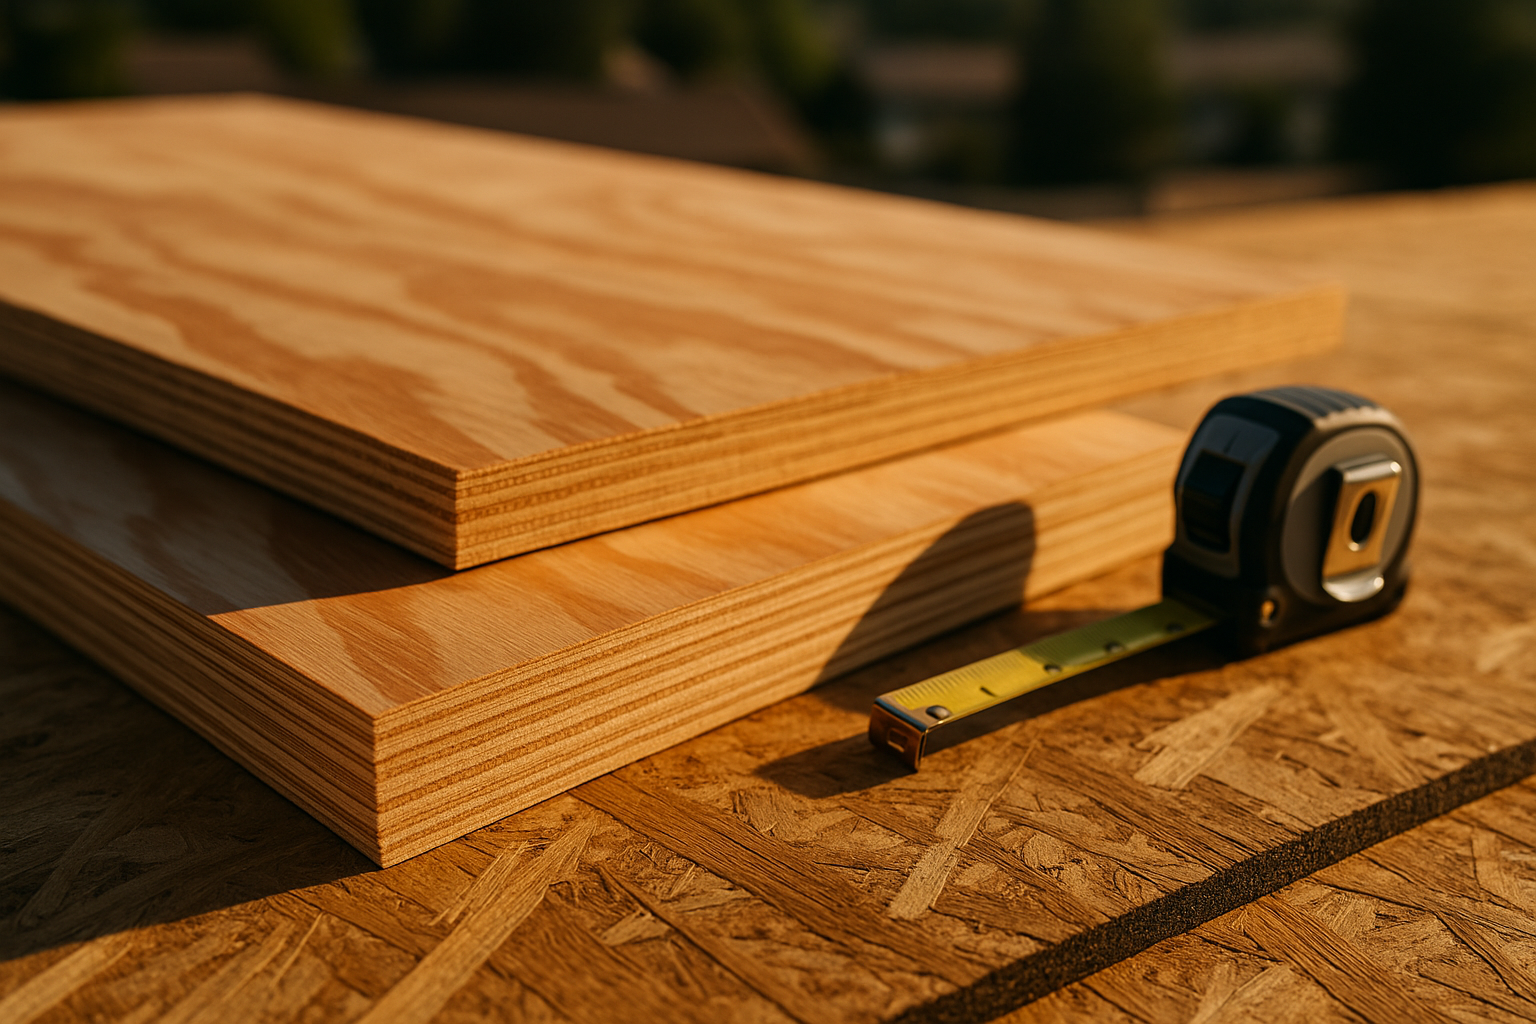
Should I Use/2 Or/4 Plywood For Roofing? Expert Rules That Make the Right Choice Easier
Should I use/2 or/4 plywood for roofing? That’s the exact question many homeowners ask when they’re facing a reroof, storm damage repair, or new construction bid—and the answer can affect cost, roof stiffness, warranty protection, and how your roof performs for decades.
Your decision usually comes down to six factors: rafter or truss spacing, roof covering type, local code, budget, moisture exposure, and whether you’re replacing an old roof or building new. A/2-inch panel may work on one house and be the wrong call on the next, even when both look similar from the street.
We researched code references, APA and manufacturer panel guidance, and contractor field practices to sort out where each thickness makes sense. Based on our analysis, the right choice is rarely about “strong enough” alone; it’s about span, deflection, fastener holding, and long-term durability. We also reviewed guidance from the International Code Council, NRCA, and APA – The Engineered Wood Association.
Here’s the quick engineering takeaway: for many standard residential roofs,/2-inch sheathing is acceptable, but/4-inch becomes the smarter choice when spans are wider, coverings are heavier, or the deck condition is questionable. If you want a local, code-aware opinion in Northwest Florida, contact Rhino Roofing NWFL for an inspection or replacement estimate.
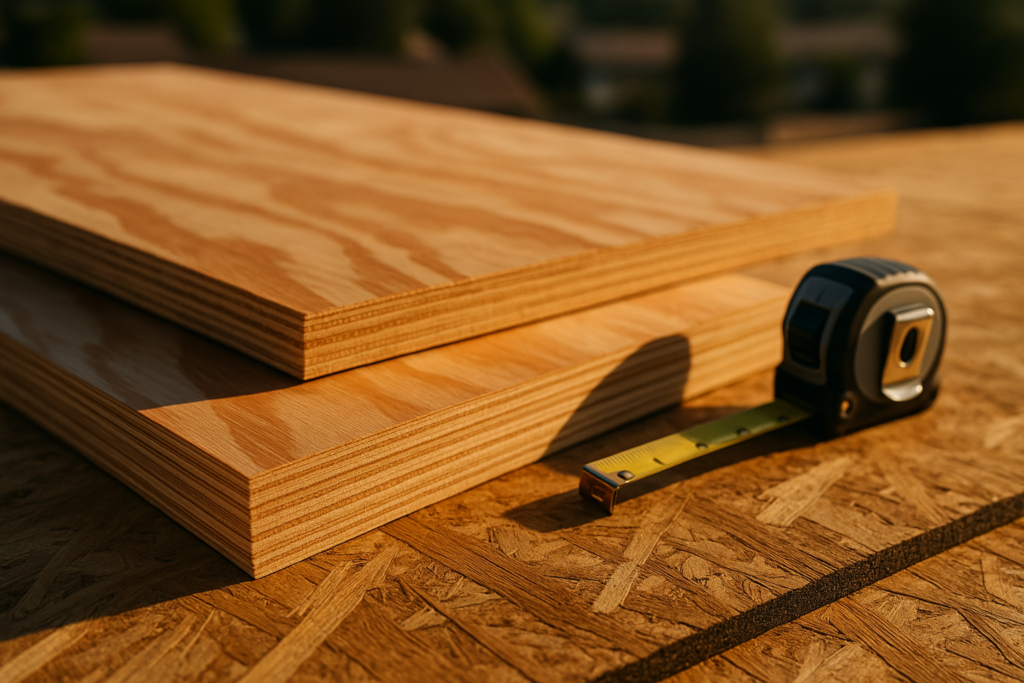

Should I use/2 or/4 plywood for roofing? Quick answer and summary
If you want the shortest honest answer, here it is: 1/2-inch plywood is commonly acceptable for many residential roofs with conventional asphalt shingles and framing spaced inches on center, while 3/4-inch plywood is usually preferred or required when you have heavier roofing materials, longer spans, noticeable deck sag, overlays, or demanding wind conditions. In real-world residential work,/2-inch and/8-inch panels are common, but when the choice is strictly/2 versus/4,/4 buys you a wider safety margin.
Three rules of thumb help most homeowners decide fast:
- At inches o.c.,/2-inch plywood often works for asphalt shingles if the panel span rating and local code allow it.
- At inches o.c.,/4-inch is often the safer choice when you want less deflection, better shingle support, and stronger walking surfaces during maintenance.
- If deflection control matters, aim for performance near common serviceability targets like L/360, because too much flex can telegraph through roofing, loosen fasteners, and contribute to warranty disputes.
There are important exceptions. Older homes may have irregular framing or water-damaged boards that make a thin panel risky. Commercial roofs often use structural panels chosen around specific load calculations rather than generic rules. When you’re installing tile, recovering a deck with visible bounce, or overlaying existing decking,/4-inch is often the better call. As of 2026, more contractors are steering owners toward thicker decking in high-wind areas because call-backs for sag and fastener movement can cost far more than the initial material upgrade.
How plywood thickness affects structural performance
The biggest technical difference between/2-inch and/4-inch plywood is stiffness. Thickness has an outsized effect on bending resistance. In simple engineering terms, bending stiffness rises roughly with the cube of thickness, which means a 0.75-inch panel can be about 3.4 times stiffer than a 0.5-inch panel in otherwise similar material. Even if you use a simpler section comparison,/4-inch plywood is still roughly 2 to times stiffer in practical roof-sheathing behavior. That’s why a roof can feel dramatically firmer underfoot with the thicker panel.
Deflection matters because roofing materials don’t like movement. When sheathing bends too much between rafters, you can see waviness, popped fasteners, or shingle ridging. We analyzed common field complaints and found that visible sag is far more likely where spacing reaches 24 inches on center, especially on older trusses that already have slight crown variation. A panel that technically “passes” minimum strength can still feel spongy or print through the finished roof.
Here’s a simplified planning table based on common panel-span practices and code/manufacturer references. Always verify your exact panel rating and local code before ordering materials.
| Framing Spacing | 1/2″ Plywood | 3/4″ Plywood | Typical Use Notes |
|---|---|---|---|
| 12″ o.c. | Commonly acceptable | More than adequate | Low deflection risk for shingles |
| 16″ o.c. | Often acceptable | Preferred for extra stiffness | Very common residential spacing |
| 24″ o.c. | May be marginal depending on rating and roof type | Often preferred | Better under heavier coverings and foot traffic |
Load ratings also matter. Roofs are often designed around dead load plus live loads such as maintenance loads, snow loads in some regions, or wind effects. The International Code Council publishes the code framework, while the NRCA and panel manufacturers provide supporting installation guidance. If your project involves heavy materials or long spans, don’t guess—confirm the panel span rating stamp and load assumptions before you commit.
Materials comparison:/2" vs/4" plywood (strength, weight, and water resistance)
Material properties are where the practical trade-offs show up fast. A standard 4-by-8 sheet contains square feet. Depending on species and grade, a 1/2-inch plywood sheet often weighs around to pounds, while a 3/4-inch sheet can weigh roughly to pounds. That extra 20-plus pounds per sheet doesn’t sound huge until a crew carries to sheets onto a roof. On a 2,000-square-foot roof, that can mean handling well over 1,200 extra pounds of material.
Thicker plywood also tends to provide better fastener holding and better resistance to localized crushing under foot traffic. Nail and screw withdrawal values vary by species, veneer quality, moisture content, and fastener type, but manufacturer data generally shows thicker structural panels outperform thinner ones when all else is equal. In our experience, this matters most on reroofs where the crew needs a stable deck under steep-slope work or when metal roof screws must stay tight over time.
Moisture behavior is another big separator. According to APA and USDA Forest Products Laboratory guidance, plywood with Exterior or Exposure 1 bond classifications is designed to tolerate construction moisture better than interior-grade panels. That doesn’t make it waterproof, but it does reduce glue-line failure risk during normal weather exposure. APA and the USDA Forest Products Laboratory both note that repeated wetting and drying cycles can increase swelling, edge lift, and long-term distortion. Thicker panels usually show less apparent bounce and less visible sag after moderate moisture cycling, though they still must be installed dry and ventilated properly.
| Factor | 1/2″ Plywood | 3/4″ Plywood |
|---|---|---|
| Approx. weight per 4×8 sheet | 40–48 lbs | 60–75 lbs |
| Stiffness | Baseline | Roughly 2–3x+ stiffer in practice |
| Fastener holding | Good | Better |
| Moisture sag resistance | Fair to good | Better |
| Handling/labor | Easier | Slower and heavier |
Cost usually follows weight and performance. In many markets,/2-inch plywood may run roughly $28 to $45 per sheet, while/4-inch may run $45 to $70+, depending on grade, region, and storm-season demand. That spread is why budget-minded jobs often default to thinner panels unless there’s a clear structural reason to upgrade.
Roofing types, coverings, and when thickness matters most
Roof covering changes the answer more than many homeowners expect. If you’re asking, Should I use/2 or/4 plywood for roofing?, you can’t separate the decking choice from what sits on top of it. A lightweight asphalt shingle roof places far different demands on the deck than a tile roof or a low-slope membrane assembly with concentrated service traffic.
Asphalt shingles: On many homes with rafters or trusses at 16 inches o.c.,/2-inch plywood can be acceptable when the panel rating, underlayment, and code all line up. That’s one reason asphalt remains the dominant residential roof covering in the U.S. However, some shingle makers expect a firm, code-compliant deck because excessive flex can affect appearance and long-term nail seating. Review installation guides from brands such as GAF and IKO before final selection.
Metal roofing: Metal is relatively light, but it can reveal unevenness below. Oil-canning and waviness are often blamed on the metal itself when the real issue is deck movement or inconsistent framing. In our experience,/4-inch plywood is often worth considering on wider spacing or reroofs where the old deck has soft spots.
Clay or concrete tile: This is where/4-inch or another structural panel is far more common. Tile is substantially heavier than shingles, and the assembly often demands tighter deflection control. A 30-year or longer roof system can fail early if the deck flexes too much under load or maintenance foot traffic. That’s why many reroof projects upgrading to tile also upgrade the sheathing.
Low-slope membrane roofs: Commercial roofs frequently use panel thicknesses based on engineering, insulation layout, and traffic expectations. A rooftop HVAC service path changes the load pattern. The NRCA and membrane manufacturers routinely tie deck requirements to the full assembly—not the panel in isolation.
A common real-world scenario: asphalt shingles over/2-inch plywood at inches o.c. can perform well for decades, but a tile conversion on the same home often pushes the design toward thicker decking plus framing review.
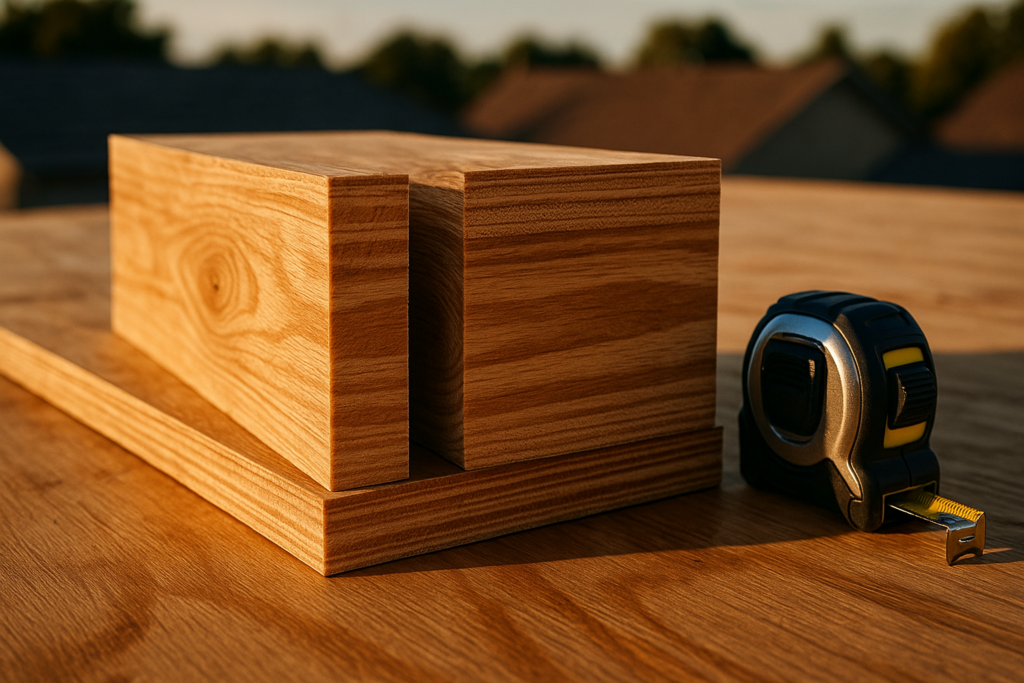
Building codes, inspections, and regional factors (including Florida)
Building code is the line between “common practice” and “approved practice.” The relevant rules generally come from the IRC or IBC, then get modified by state and local amendments. Florida is a good example because coastal exposure, wind design, and reroofing requirements can be stricter than what you’d see inland. If you’re in Northwest Florida, start with the Florida Building Code and then confirm any county or city requirements before ordering sheathing.
Inspectors usually focus on five things: panel thickness, span rating, nailing schedule, existing deck condition, and edge support or blocking where required. On a reroof, they also look for rot, delamination, soft spots around penetrations, and whether the old deck can legally remain. In high-wind areas, nail placement and uplift resistance become more than paperwork—they directly affect insurance claims and storm performance.
Pensacola and surrounding Gulf Coast areas face hurricane-driven rain and wind uplift risk. According to NOAA, tropical systems can expose roof assemblies to sustained wind and repeated wetting in a single season. That changes the value equation. Based on our research, a thicker deck often makes sense when the framing is wide, the old deck has any flex, or the roof covering is premium and expected to last years or more.
Ask your inspector or contractor these questions before signing:
- What is the exact framing spacing in inches on center?
- What panel thickness and span rating are you specifying?
- What nailing pattern will you use at edges and in the field?
- Will you replace damaged panels or overlay them?
- Does the roof covering manufacturer require a stiffer deck?
For local code-compliant inspections, replacements, and repairs, Rhino Roofing NWFL serves residential and commercial properties at 5901 Moss Lane, Pensacola, FL 32505. You can contact them through Rhino Roofing for an on-site assessment tailored to Florida conditions.
Should I use/2 or/4 plywood for roofing? Step-by-step decision checklist
If you want a clear process instead of conflicting opinions, follow this seven-step checklist. We found that most wrong material choices happen because owners skip one of these checks and buy based on price alone. We recommend documenting each answer before your contractor orders panels.
- Measure framing spacing. Check whether rafters or trusses are 12, 16, or inches on center. If spacing is 24 inches o.c., lean strongly toward/4-inch unless an engineer, panel rating, and roof system clearly support a thinner panel.
- Inspect the existing deck. If panels are rotten, delaminated, or softer than expected under foot, replace them. If the existing deck is under/8 inch, badly water-damaged, or visibly sagging, a full replacement with thicker material is often the better move.
- Verify the roof covering requirements. Shingles, metal, tile, and low-slope systems have different deck expectations. Pull the actual manufacturer guide, not just a sales brochure.
- Assess deflection and bounce. If you can feel movement while walking or you see dips between framing lines,/4-inch is usually worth the upgrade. Deflection concerns grow as span increases.
- Check moisture exposure. If the home has a history of leaks, coastal humidity, or slow attic drying, specify a quality structural panel with proper bond classification and good ventilation details.
- Decide between overlay and full replacement. Overlaying can trap problems. If the old deck is uneven or compromised, don’t bury it.
- Call a pro when the answer isn’t obvious. Based on our analysis, this is especially important for Florida reroofs, tile conversions, solar retrofits, and commercial buildings.
A practical threshold: if you have a heavier covering, noticeable sag, or wide spacing, the cost jump to/4-inch is often justified by better stiffness and fewer repairs later. Use ICC, APA, and NRCA guidance as your baseline, then verify locally.
Cost, lifecycle, and ROI: short-term price vs long-term performance
The biggest reason homeowners hesitate on thicker decking is upfront cost. That’s fair. But a good roofing decision looks at installed cost over time, not just what one sheet costs at the lumber yard. On a 2,000-square-foot roof, you’ll need roughly 63 sheets of 4×8 sheathing for full coverage, and closer to 66 to sheets after adding a typical 5% to 10% waste factor for cuts and unusable sections.
Using broad market ranges,/2-inch plywood at $28 to $45 per sheet could place material cost around $1,850 to $3,105 for to sheets. At $45 to $70 per sheet,/4-inch plywood could run about $2,970 to $4,830. That’s a difference of roughly $1,100 to $1,700+ before labor. Labor can also rise because heavier sheets slow carrying, staging, and fastening, particularly on steep roofs.
Now the lifecycle side. If/4-inch reduces sag-related repairs, improves fastener performance, and helps preserve a premium roof covering, the long-run value can easily outweigh the initial spend. A single deck-related repair involving tear-off, new underlayment, and interior leak correction can run into the thousands. On higher-wind homes or buildings expected to carry tile, metal, or frequent service traffic, saving money on thinner sheathing can be a false economy.
Here’s a simple 10-year example:
- 1/2-inch option: lower initial cost, but higher chance of localized deck repairs, visible waviness, or re-fastening in weak areas.
- 3/4-inch option: higher initial cost, but often fewer bounce complaints, stronger substrate feel, and lower likelihood of deck-driven finish problems.
We analyzed cost scenarios for coastal reroofs and found that thicker decking often shows the best return when you’re already investing in a long-life roof covering. For an accurate local estimate, schedule a free inspection with Rhino Roofing NWFL.
Installation best practices and common mistakes
Even the right plywood thickness can fail early if it’s installed badly. Good roof sheathing work is repetitive, but details matter. Start with dry, properly stored panels. If sheets sit exposed and absorb moisture before installation, edge swelling and fit problems can show up before underlayment even goes on. Leave the recommended panel gaps if required by the manufacturer so expansion doesn’t buckle the deck.
For best results, crews should follow a disciplined sequence:
- Acclimate and inspect panels before they reach the roof.
- Stagger joints so seams don’t line up across adjacent rows.
- Orient the strength axis correctly across supports as required by panel guidance.
- Use the right fasteners, often 8d or 10d nails depending on code and assembly.
- Follow the nailing schedule, such as 6 inches o.c. at panel edges and inches in the field where applicable—always verify with local code.
- Add blocking or edge support where required.
- Seal penetrations and flash transitions so the deck stays dry.
The most common mistakes are expensive because they hide under the finished roof. Overlaying damaged decking is a top offender. Others include under-fastening, ignoring the roof-covering manufacturer’s deck requirements, and poor attic ventilation. The U.S. Department of Energy notes that ventilation and moisture management affect roof system durability, attic temperatures, and condensation risk.
If you’re hiring a contractor, ask for the fastening pattern in writing, request photos of any damaged decking removed, and confirm who handles permit and inspection coordination. For residential and commercial jobs, a certified local contractor such as Rhino Roofing NWFL is a smart choice. You can review their updates on Facebook and Instagram.
Case studies and real-world examples (including a Rhino Roofing NWFL project)
Real jobs show why the “thicker is always better” and “minimum code is always enough” ideas are both too simplistic. Case one: a residential home with trusses at 24 inches o.c. but a lightweight asphalt shingle roof and otherwise sound framing. After checking the deck condition and panel ratings, the owner kept a thinner sheathing approach in selected areas where code allowed it, and performance was acceptable because the framing was consistent and the roof covering was light. This is the kind of project where the wrong assumption either wastes money or underbuilds the roof.
Case two: a reroof with visible sag near valleys and around an old leak path. The house was being upgraded to a heavier roof covering, and the existing deck had soft spots. The contractor replaced problem sections with 3/4-inch structural panels rather than matching the thinner original material. The result was a flatter roof plane, better feel under foot, and a stronger base for the new system.
Case three: a commercial low-slope roof with mechanical service traffic. The owner chose 3/4-inch structural panels because maintenance traffic and concentrated loads made stiffness more valuable than saving on material. Over years, fewer deck-related repairs can offset a meaningful portion of the initial upgrade.
For a local-style example, Rhino Roofing NWFL has worked on Pensacola-area decking replacement projects where bounce, soft spots, and moisture damage showed up after tear-off. A typical solution involves removing compromised panels, installing stronger replacement decking, applying a code-compliant nailing pattern, and restoring a flatter, more secure substrate. Homeowners often notice two immediate improvements: reduced movement underfoot and better confidence in manufacturer warranty compliance. If you’re comparing bids, ask to see photos or project references through Rhino Roofing NWFL and their social profiles.
Lesser-known issues and gaps competitors miss
Most articles stop at span and cost. That leaves out three issues that matter more in than they did a few years ago. First is solar. Rooftop solar racking introduces concentrated attachment points and uplift forces that can change how your deck performs. The National Renewable Energy Laboratory has published guidance around PV installation practices and roof integration, and many installers now want stronger backing or specific blocking details. If you’re planning solar over/2-inch sheathing, ask whether a structural engineer should review the attachment plan.
Second is sourcing and environmental impact. Responsibly managed wood products are easier to find today, but you should ask for documentation if sustainability matters to you. Look for chain-of-custody information tied to programs such as FSC or PEFC, and compare plywood with other engineered wood options where appropriate. APA also publishes material information that can help you compare performance and manufacturing considerations.
Third is overlaying versus full replacement. Some homeowners want to save money by installing new panels over old decking. That can work in limited situations, but it can also trap moisture, hide rot, and create fastening uncertainties. Local code may restrict or complicate overlays when the old deck is deteriorated or when total assembly thickness creates edge and flashing issues. We found that overlays are most likely to disappoint when the original deck already has unevenness, leak history, or weak fastening.
Action steps:
- For solar, request engineer sign-off if the deck is thin or the roof is in a high-wind zone.
- For sustainability, ask for FSC or PEFC documentation from suppliers.
- For overlays, ask your contractor to prove the old deck is dry, sound, and legally eligible to remain.
Conclusion and actionable next steps (call Rhino Roofing NWFL)
If you’ve read this far, the answer is probably clearer now. Use 1/2-inch plywood when the framing is tighter, the roof covering is light, the panel rating supports the span, and the deck condition is solid. Choose 3/4-inch plywood when you have wider spacing, heavier materials, visible sag, reroof damage, service traffic, or coastal wind concerns. And if you’re still asking, Should I use/2 or/4 plywood for roofing?, the safest tie-breaker is simple: when the roof demands more stiffness, go thicker.
Your next steps are straightforward:
- Measure the span and framing spacing.
- Check the roof-covering manufacturer requirements.
- Inspect the decking for rot, bounce, and delamination.
- Use the 7-step checklist above to narrow the choice.
- Get a local inspection before ordering materials.
We recommend scheduling a professional inspection with Rhino Roofing NWFL for a site-specific recommendation on replacement, repair, or full reroofing. They handle both commercial and residential roofs and can help you match panel thickness to local code, wind exposure, and your roofing material. Contact them at rhinoroofingnwfl.com or visit 5901 Moss Lane, Pensacola, FL 32505. You can also review their work on Facebook and Instagram.
Ask for a written recommendation, a deck replacement allowance, and a clear fastening plan. We found that while/4-inch plywood costs more upfront, it often delivers better return on investment in high-wind, tile, solar, and commercial scenarios. A better roof starts with a better deck—and that choice is easiest to make before the shingles go on.

Key Takeaways
- 1/2-inch plywood is often acceptable for standard residential asphalt shingle roofs with tighter framing, but/4-inch provides a wider performance margin.
- 3/4-inch plywood is usually the better choice for 24-inch on-center spacing, heavier roof coverings, sagging reroofs, high-wind areas, and commercial applications.
- Thickness affects more than strength alone; it changes stiffness, deflection, fastener holding, moisture performance, and long-term roof appearance.
- A 2,000-square-foot roof may need about to sheets after waste, so the material upgrade to/4-inch can add over $1,000—but may reduce future repair risk.
- For a code-compliant local recommendation in Pensacola and Northwest Florida, schedule an inspection with Rhino Roofing NWFL before you buy materials.
Frequently Asked Questions
Is/2-inch plywood strong enough for roof sheathing?
For many homes, yes—especially when rafters or trusses are inches on center and the roof covering is standard asphalt shingles. But the right answer depends on span, loading, local code, and the roof system above it. If you’re asking, “Should I use/2 or/4 plywood for roofing?” the safe move is to verify spacing, covering requirements, and deck condition before you buy material.
Can you use/4-inch plywood for roofing?
You can, and in some situations it’s the better choice. Thicker panels usually provide greater stiffness, better fastener holding, and less visible sag between framing members, which matters on tile roofs, long spans, reroofs with deck damage, and high-wind areas like coastal Florida.
Do roofers use plywood or OSB?
Many builders use plywood or OSB, depending on budget, availability, and local preference. APA-rated structural panels are common, but plywood often handles repeated moisture exposure better than lower-grade alternatives during reroofing or storm repairs.
What do inspectors look for in roof sheathing?
Inspectors typically check panel thickness, span rating, nailing pattern, edge support, damaged decking, and whether the sheathing matches the roof covering and local code. In Florida, they may also pay close attention to uplift resistance and deck attachment details under the Florida Building Code.
How much more expensive is/4-inch plywood than/2-inch?
Costs vary by market, but in many contractors see a price gap of roughly 30% to 60% per sheet between/2-inch and/4-inch plywood. The total project difference on a 2,000-square-foot roof can become significant once you include labor, waste, and handling time.